

Grow Your Own Salad Greens…Hydroponically!
As the cost of food steadily increases, it can be challenging to find a way to maintain a vibrant, healthy diet on a budget. With summer around the corner, many people are turning to their backyard gardens to offset the price of produce by growing it themselves. Gardening can be a rewarding and enjoyable hobby, with physical and mental benefits alike, but the reality is that it is not accessible for everyone. Lack of time, space, money, or desire to maintain a garden inhibits many people from reaping the benefits of home-grown produce. However, there may be a solution…
What if I told you there was a way to have fresh salad greens throughout the summer with minimal space, cost, and effort?
Let me introduce you to the Hydroponic Salad Table.

Hydroponics is the method of growing plants in a water solution rather than soil. The essential components of soil that support plant growth can be supplemented through a simple, albeit strategic, design that will leave you inspired and amazed by the wonder of plant physiology.
Two summers ago I tried this model for the first time, and I will never go back! This method of growing salad greens is dirt-free, weed-free, and aside from the initial set-up is maintenance-free as well. All of the supplies I purchased during my first year have lasted me through three growing seasons (and counting), making this a cost-effective way to put produce on the dinner table.
***The Hydroponic Salad Table design in this blog post comes directly from Tom Michaels at the University of Minnesota and is shared with permission. For more details about his design trials and a full manual with instructions on how to start your own Hydroponic Salad Table, visit his website HERE.***
How to Get Started
One hydroponic table will hold up to 12 plants and during peak production should produce enough for a person to have a small salad every day. For a household that loves to consume greens, you might consider building several Salad Tables.
Materials

One 10-gallon plastic storage container, approximately 24” x 15” x 9”
Opaque containers, such as this one, are ideal
A 1.5” thick piece of rigid foam to fit atop your 24” x 15” container
8-12, 2” netpots
A small bag of organic perlite
Hydroponic nutrient solution
See page 9 of Tom’s Manual for hydroponic nutrient suggestions
Seeds
A drill or sharp knife for cutting the foam board
Most of these materials can be purchased at your local hardware or garden supply store. While there is an upfront cost investment for building a Hydroponic Salad Table, materials can be cleaned and reused year after year. Cost can also be reduced by splitting materials that come in larger quantities with a friend or neighbor!
Seed Suggestions
Some salad greens grow better in hydroponics than others. Choosing a variety of seeds will make your salad table more colorful, and will act as a sort of “insurance” in the case that one variety doesn’t thrive. Below are some suggestions for greens to consider:

Lettuces like leaf, Bibb, and romaine
Pac Choi
Kale
Collard Greens
Arugula
Mustard Greens
Cress
Nasturtium
Swiss Chard
Leafy Amaranth
Basil
Sorrel
Spinach does not grow well in this hydroponic system.
Starting Your Hydroponic Salad Table
After assembling your materials, you will want to begin by planting your seeds indoors. Fill your 2” net pots with moistened perlite and use the blunt end of a pencil to make 3-5 shallow (¼”) holes in your pot. Drop a seed of one variety into each hole and lightly cover it with perlite. Don’t forget to mark your pot with what you planted!
Fill a flat-bottomed tray (you can use your tote) with about 1” - 1.5” of perlite. Add enough water to the tray until it is about ¼ to ½” below the surface of the perlite. This is going to be a capillary bed for your seedlings.
Twist your seeded net pots into the capillary bed so that the perlite within the net pot makes contact with the water. The pots do not need to be buried more than 1” deep, just enough for moisture to be wicked up.
Cover your tray loosely with clear plastic (cling wrap works fine) and place it in indirect sunlight. The seeds should start to germinate in 3-5 days. When they do, remove the plastic.
About a week after germination, thin your seedlings so that only one plant remains in each pot. The exception to this is cress and Swiss chard; in these cases, leave two plants in each pot.
Gradually begin to introduce the seedlings to the outdoors over several days, a few hours at a time. This will “harden off” your plants and make them more resilient in the outdoor weather. After two weeks, transfer your net pots from their capillary bed into the hydroponic table.

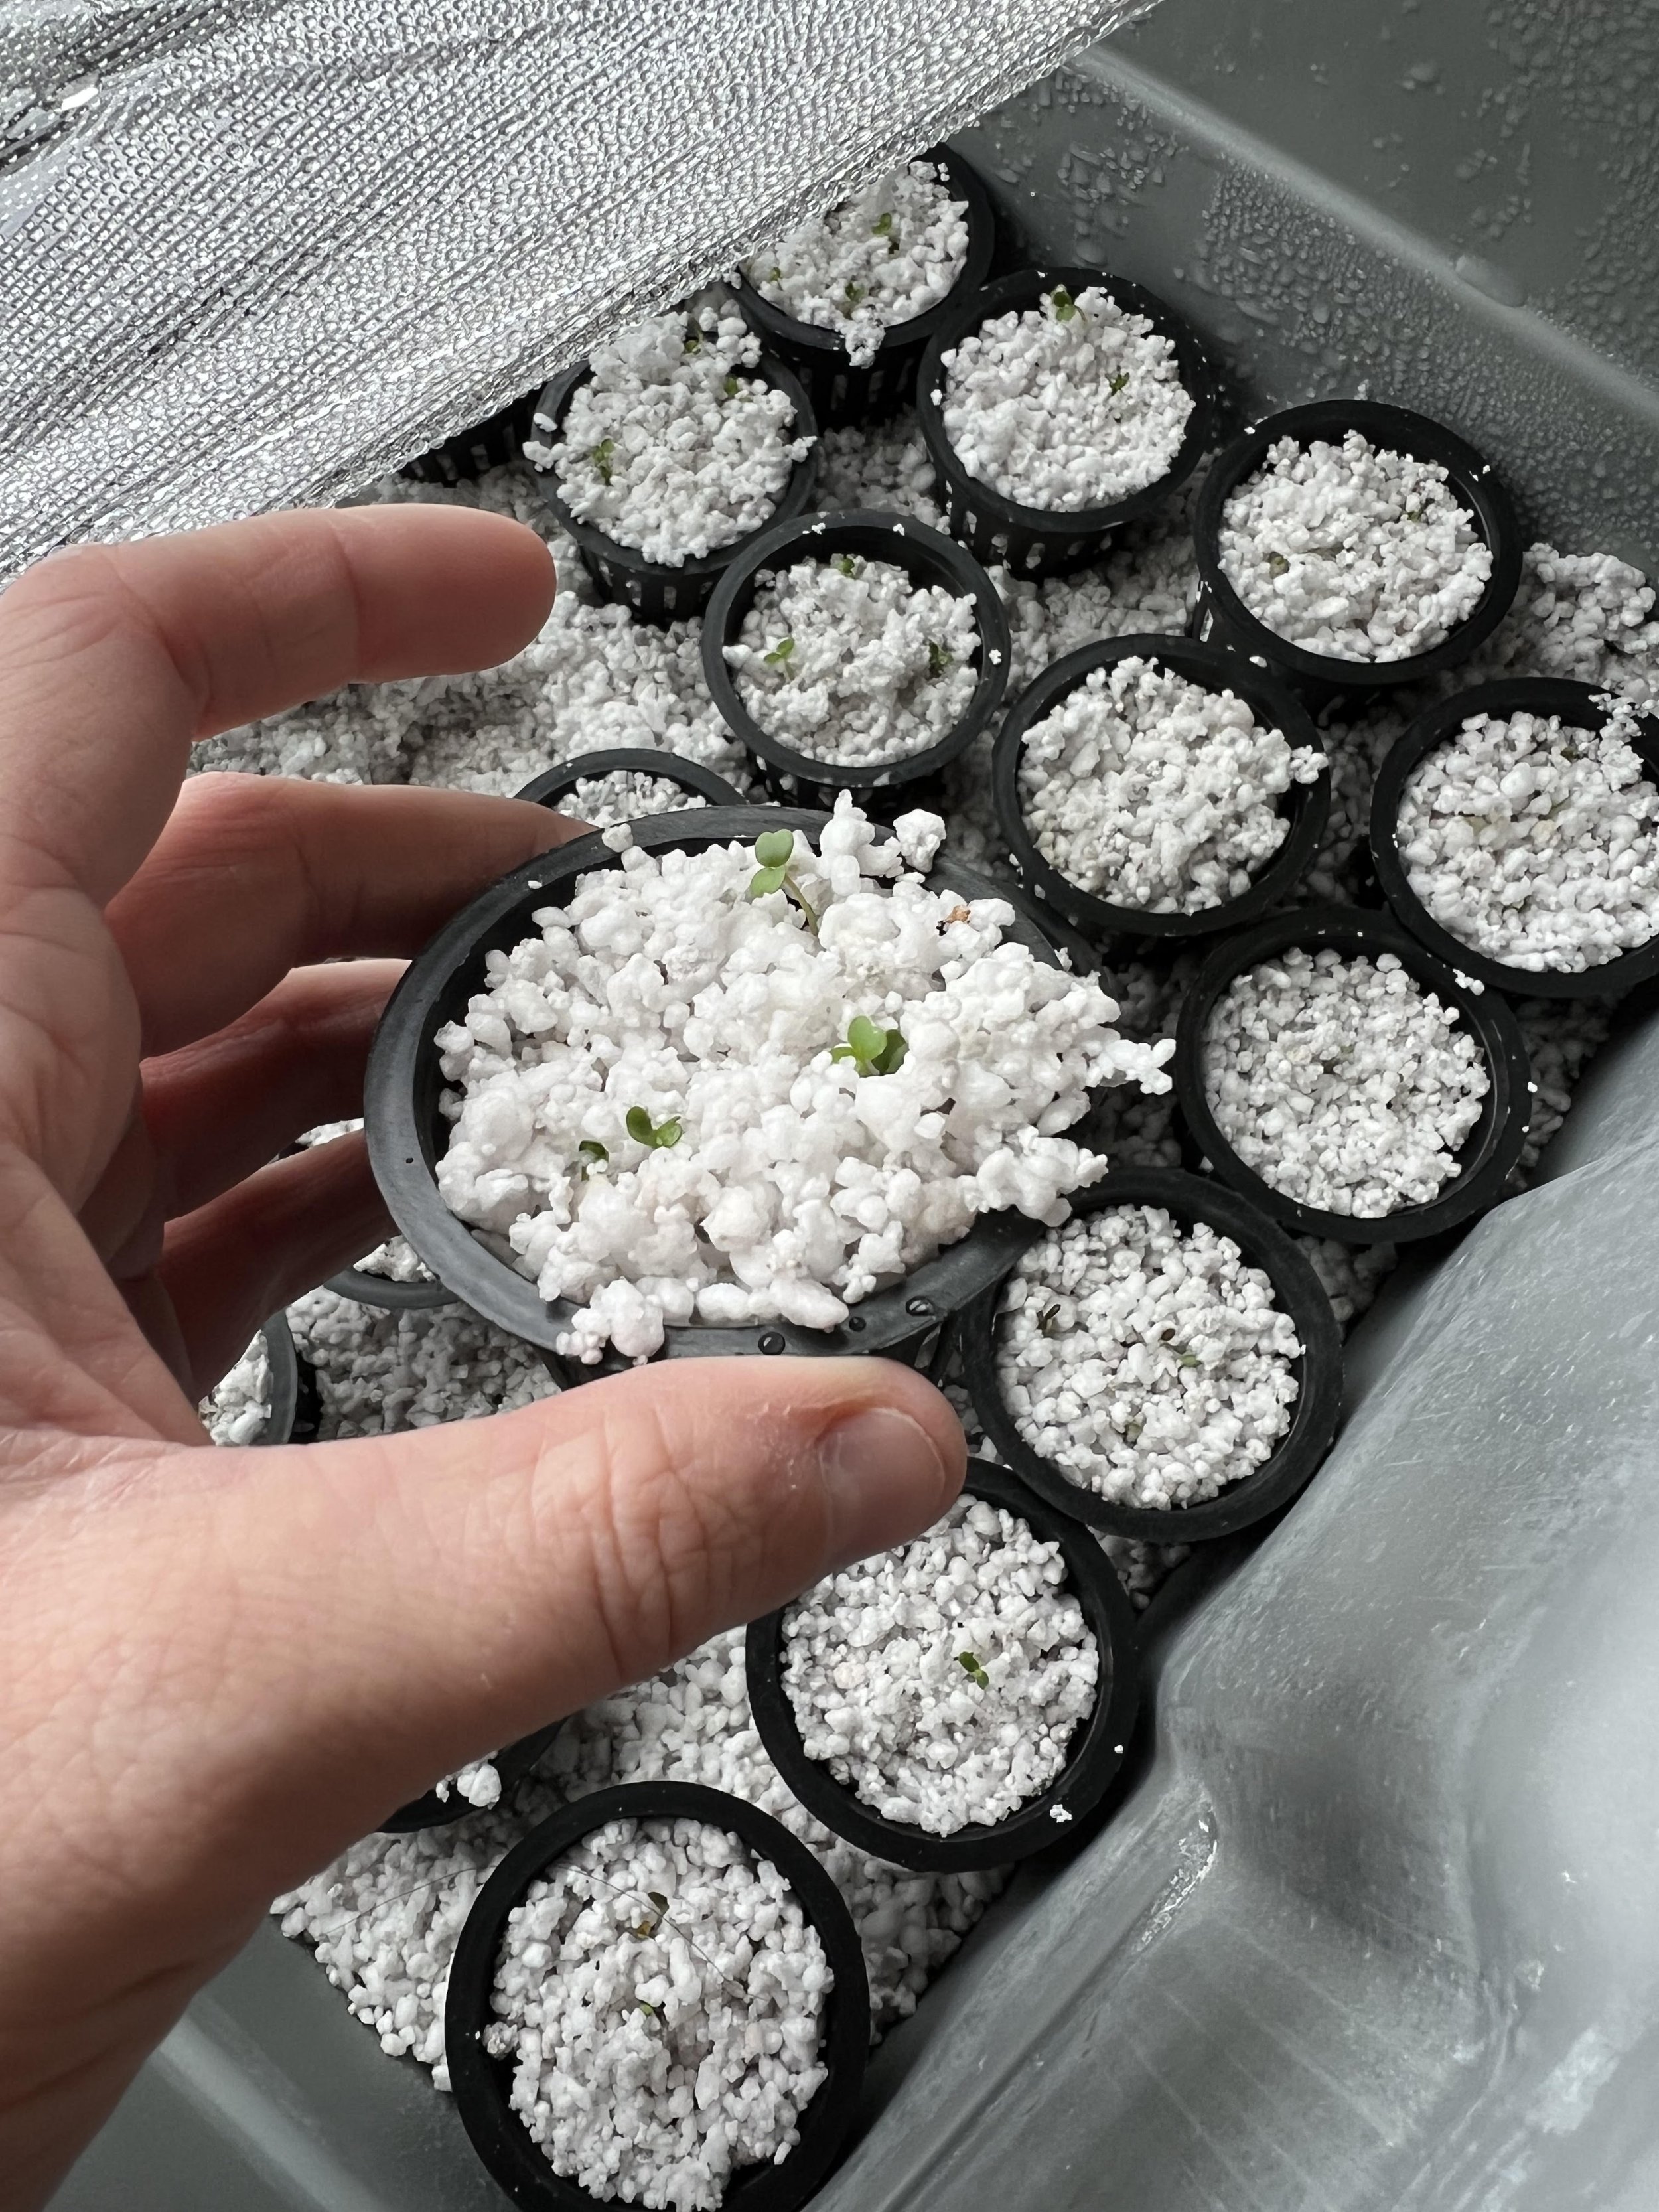
Seedlings 10 Days after planting…time to thin!
Assembling & Using Your Hydroponic Table
While your seeds are germinating in their capillary bed you can start to assemble your hydroponic table. Measure your foam sheet to fit over the opening of your tote, keeping in mind that the tote may bulge slightly when filled with water. Cut 8 to 12 evenly spaced 2” circles into the foam, just large enough for your net pots to slide in without falling through. This is most easily done using a hand drill with a 2” hole saw bit, but it can also be done with a serrated knife.
When you are ready to move your seedlings into the hydroponic table, fill the tote about ¾ full with water and add your hydroponic nutrient solution according to the ratio in the instructions. At this point you may consider testing the pH of the water. See page 11 of Tom’s Manual for more information. Once the nutrient solution is mixed in, fill the tote with water up to the rim. Make sure your tote is placed where you want it to stay, as it will be very heavy! Place your foam board on top of the tote and insert your seedlings into the holes. The water should touch the bottom of the net pots.
Very little maintenance is required after this step. The water level in the tote will decrease over time, but as long as the plant roots are able to reach the water they will be okay. Once the water level is below 3” you can add more nutrient and water to fill the tote to about halfway. Placing rocks or another heavy object on the foam lid may be necessary early on to keep it from blowing in the wind.
Harvest

You can begin harvesting your lettuce about 4 weeks after sowing your seeds. When harvesting, always leave a few leaves on the plant so it can continue to grow and produce more. Your salad table will start to produce the most during the fifth or sixth week and will continue to provide leafy greens until the plants are ten to twelve weeks old. Salad greens generally prefer cooler weather, so you may find that in the peak of summer, your greens become increasingly tough and bitter. The best time to start a hydroponic salad table in Minnesota is early May and early August to avoid the heat of summer.
Diving into this project may seem new and overwhelming at first, but it really is so simple! This is a great opportunity to make salad greens more available in your home throughout the summer and is a fun science experiment for adults and children alike. If you find some extra time on your hands this weekend, give it a go, and keep us updated about your Salad Table progress!